PRACTICAL TIP – 3 steps to rotary-symmetric contour
July 2021
A pocket or an island contour is usually constructed from the starting point of the contour once around to the end point. In the case of a rotary-symmetrical contour, this would usually be unnecessarily time-consuming and, in part, hardly feasible anyway due to the dimensions.
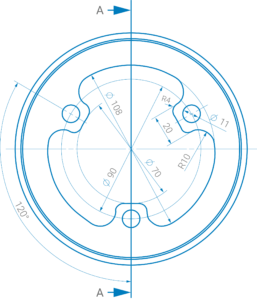
When programming in SYMplus™, you can achieve the complete contour in just three steps. We will demonstrate it using this drawing:
Step 1:
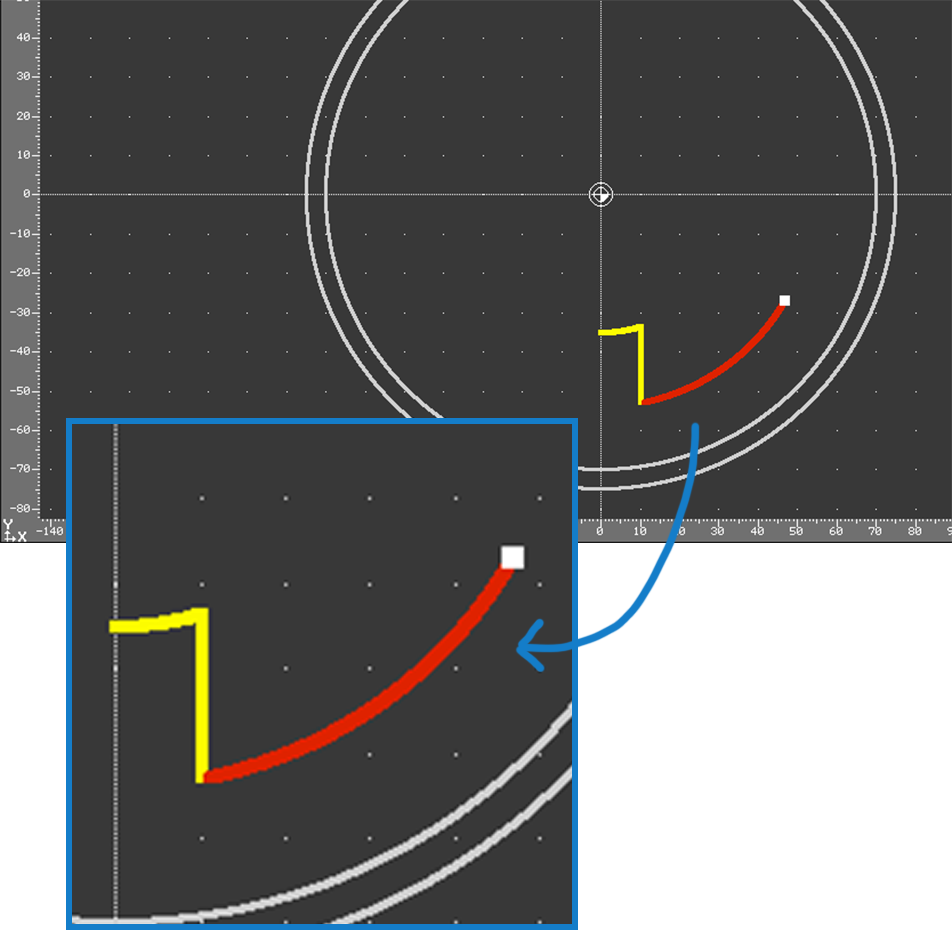
It is sufficient here to actually construct 1/6 of the contour. We start here on one axis (here it is the negative Y-axis). Since we want to construct 1/6 of 360°, the last element, the circular arc Ø108 must have a run-out angle (to the positive X axis) of 60°.
Step 2:
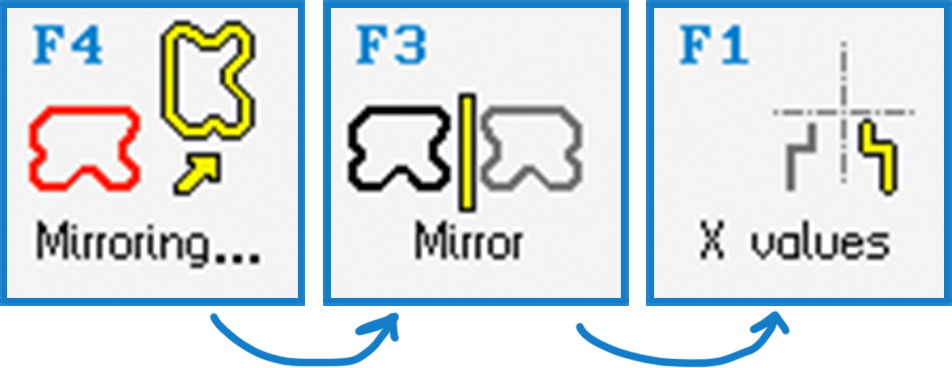
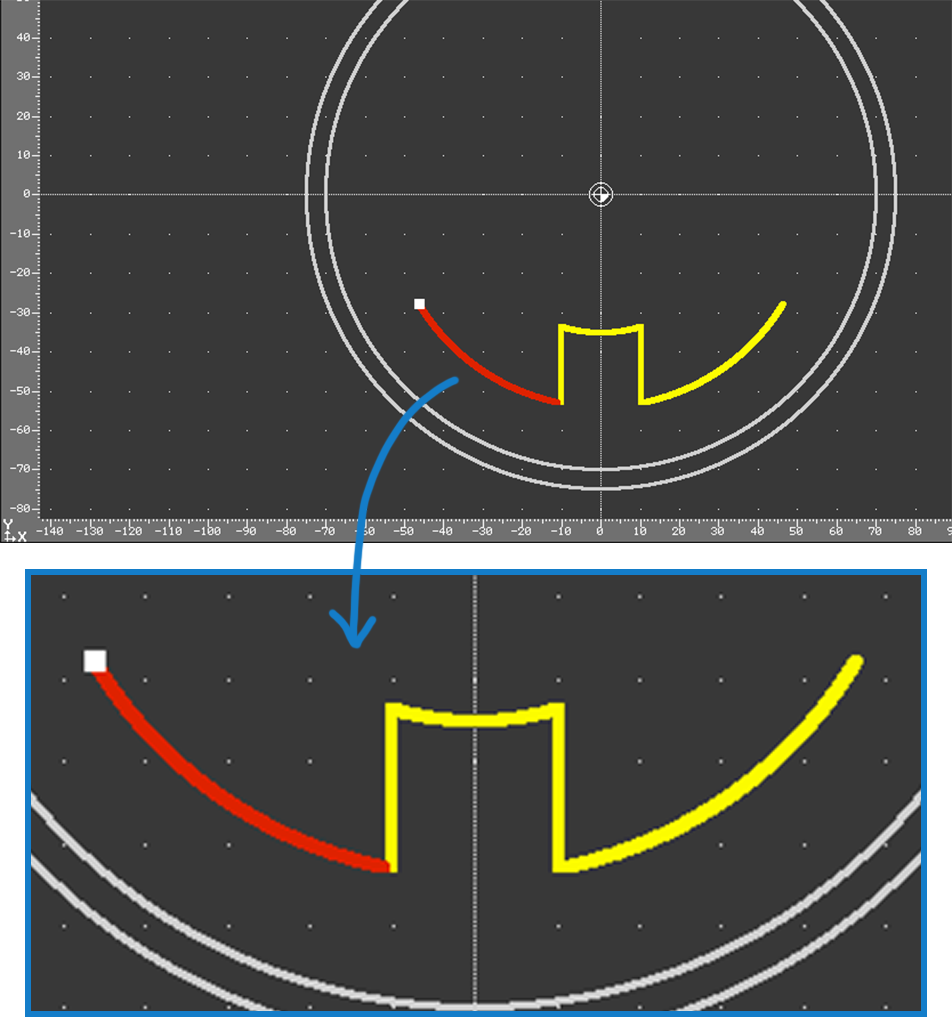
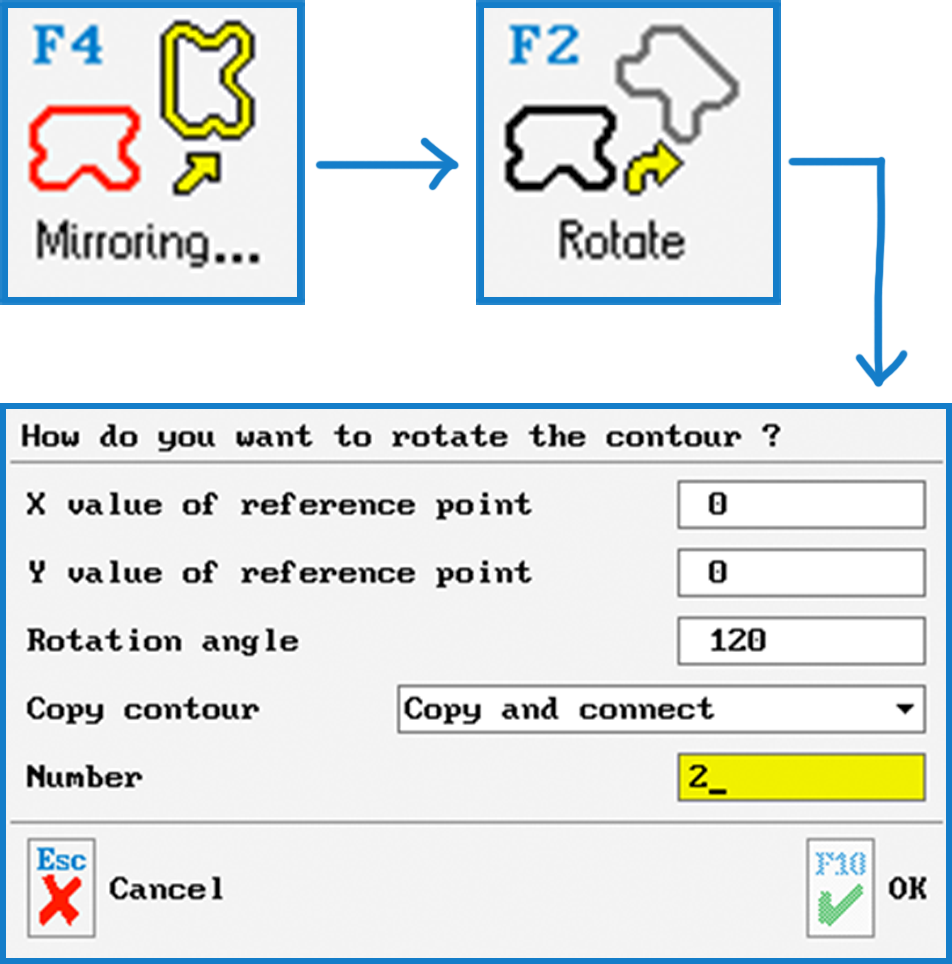
Now we leave the stretch/arc editor and mirror this piece to the Y axis (or the “X values”). It is important that you select “Mirror and connect”, because otherwise we would have single, “loose” contours.
If you make a mistake when flipping, flip in the wrong direction or forget to connect: With Ctrl+Z you can undo this operation and do it right again.
Step 3:
With this we now have 1/3 of the entire contour and can copy and rotate this section 2x by 120°. Again we select “Copy and Join” and as “Number” the number of copies, namely 2.
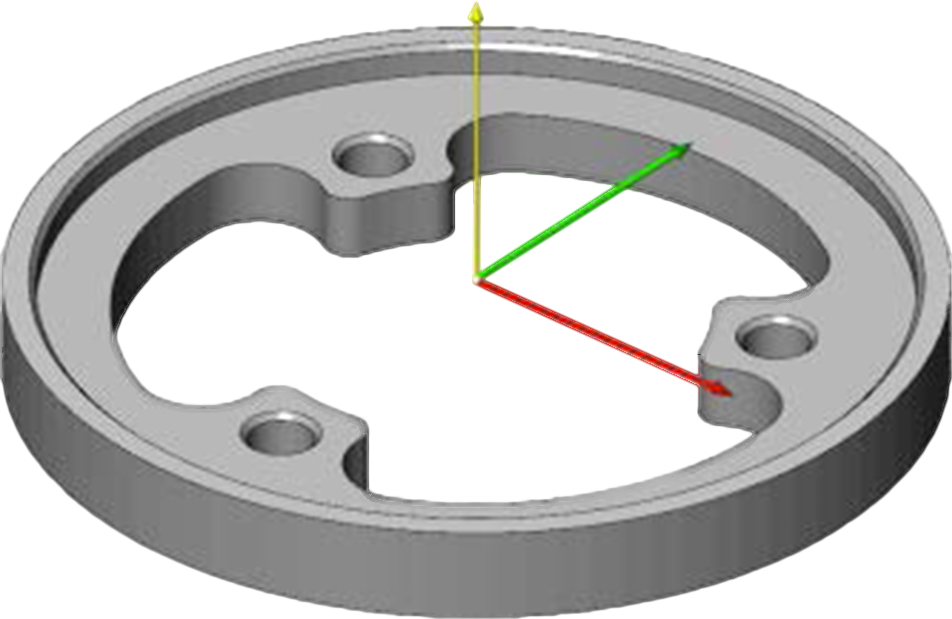
Now we have a closed contour, which we can also check again visually in the 3D view:
Now it’s your turn.
You will find more tips in the upcoming newsletters.
You have questions? Contact our experts using the contact form below.
Do you have any questions?
Our experts are at your disposal. We look forward to your inquiry!


