New video: Engraving a real soccer/football field with SYMplus™ (CNC Milling)
The European Football Championship will be held in Germany again in 2024! To celebrate in anticipation, we have milled a soccer/football pitch using our SYMplus™ CNC software! Watch this video to see how the manufacturing process comes to life thanks to SYMplus™ 3D simulation!
Challenge: Who wants to put the whole thing into practice with a real CNC machine? Show us what you can do and take part in our CNC challenge! Feel free to link us and we’ll repost the best results! We look forward to admiring your CNC skills and sharing them with the world!
- Please subscribe to our YouTube Channel: www.youtube.com/c/CNCKELLERGmbH?sub_confirmation=1
Do you have any questions?
Our experts are at your disposal. We look forward to your inquiry!

This might also be of interest to you
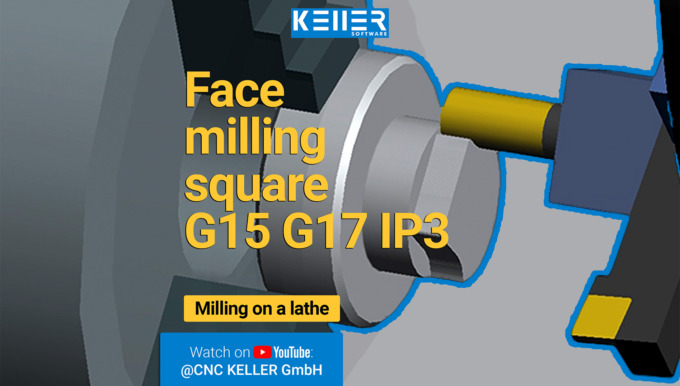
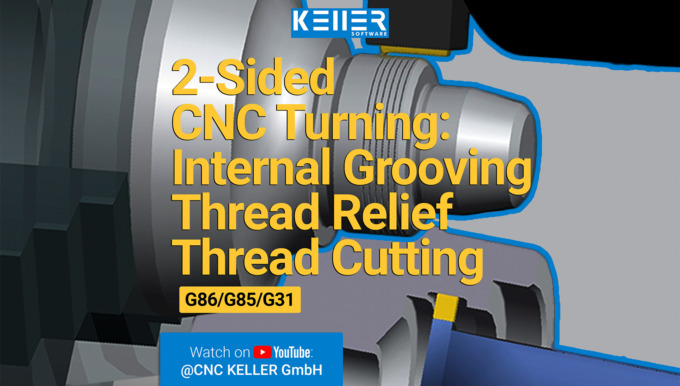
This video demonstrates selected machining steps from Task 1 of the Christiani exercise collection “CNC Turning Technology according to PAL2020 with Driven Tools”. We illustrate these steps using…
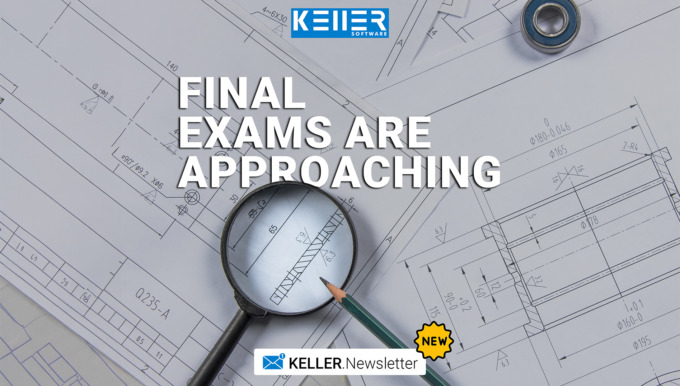
That time of year is coming up again: the final exams for industrial and technical training occupations are just around the corner. This also means that a new generation of skilled workers will soon…
Merry St. Nicholas’ Day!
Merry St. Nicholas’ Day!
In Germany, it is a tradition to place polished boots outside the door on the evening of December 5th. According to legend, St. Nicholas then comes by during the night and fills your boots with sweets and small gifts. 🍬
We may not have sweets for you, but we’ve got a new, interesting video on our YouTube channel!
Watch how we simulated the St. Nicholas’ house with our SYMplus™ CNC software in four different ways:
- G17 IP3 – End face machining with virtual Y-axis
- G17 IP5 – End face machining with real Y-axis
- G19 IP1 – Surface machining with virtual Y-axis
- G19 IP5 – Chord surface machining with real Y-axis
Wishing you a magical pre-Christmas season from the KELLER.Software team!
Here’s the link to the video: https://youtu.be/rO6m8pHMJMg

Do you have any questions?
Our experts are at your disposal. We look forward to your inquiry!
This might also be of interest to you
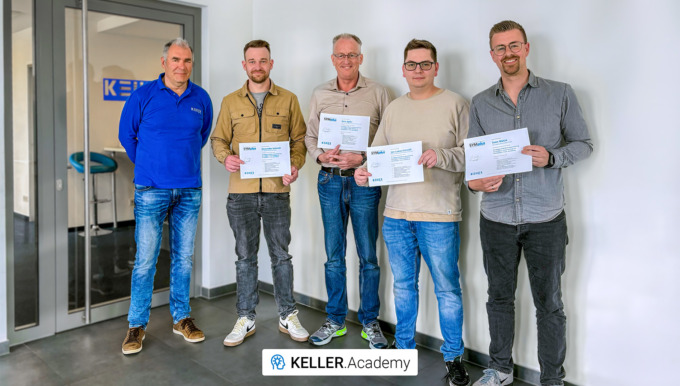
dormakaba Germany and Deutsche Edelstahlwerke Karrierewerkstatt at the KELLER.Academy! Both companies are currently strengthening their CNC training directly within their own operations—with…
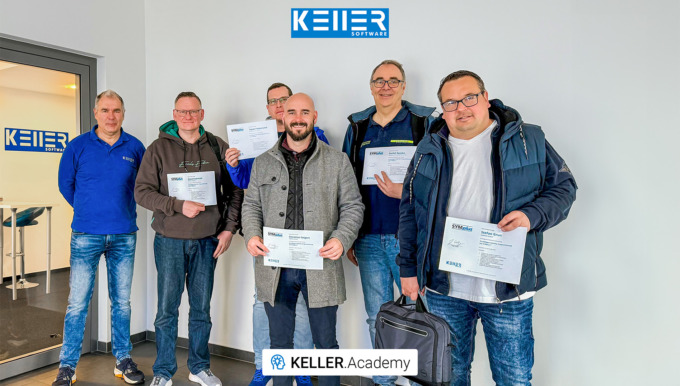
Last week at the KELLER.Academy, participants once again spent their time programming, simulating, and discussing intensively—from the fundamentals of DIN/PAL programming to the practical…
Last push before the PAL exam – Winter 2023
In two days, the exams begin for the trainee cutting machine operator – three years of training, and now it’s time to show what you’ve got! The entire KELLER.Software team wishes all examinees good luck!
On our YouTube channel, you can watch the practical exam tasks from previous years as 3D manufacturing simulations. This will give you a little insight into what to expect in the practical exam.
Link to the playlist:
Furthermore, on the KELLER support page, you can once again review all PAL commands (turning and milling) at a glance!
- Turning: https://support-en.cnc-keller.de/entries/000244/
- Milling: https://support-en.cnc-keller.de/entries/000245/

Do you have any questions?
Our experts are at your disposal. We look forward to your inquiry!
This might also be of interest to you
This video demonstrates selected machining steps from Task 13 of the Christiani exercise collection “CNC Milling Technology according to PAL2020”. We illustrate these steps using the 3D simulation…

After Mr. Schober had already attended our CAD/CAM course, we were pleased to now welcome Mr. Zaeske from Waldemar Link GmbH & Co. KG. Thank you for your visit, Mr. Zaeske. We wish you every…
Practical tips as videos on YouTube
Have you seen our practical tips videos on YouTube?
Click here https://www.youtube.com/@CNCKELLERGmbH or search for “CNC KELLER GmbH” on YouTube to find us.


Do you have any questions?
Our experts are at your disposal. We look forward to your inquiry!
This might also be of interest to you
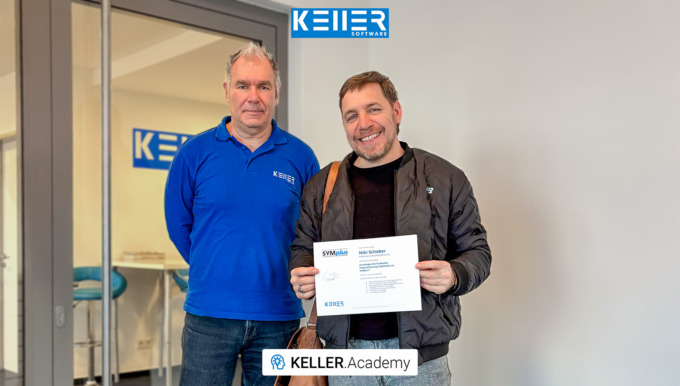
After a two-week break (and a successfully completed CAD/CAM course) Mr. Schober from Waldemar Link GmbH & Co. KG returned to the KELLER.Academy for the course “Basic DIN/PAL programming…
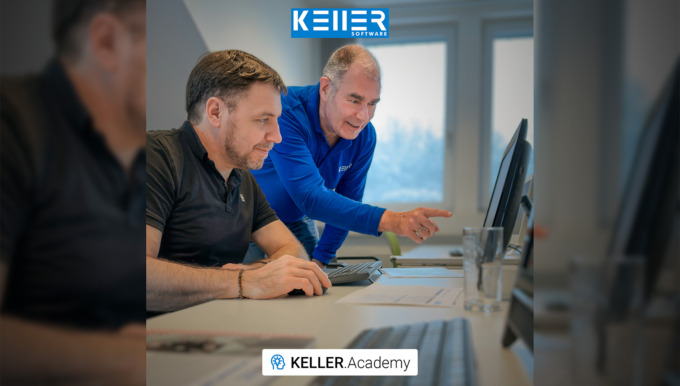
In our first course of 2026, the focus for Mr Schober from Waldemar Link GmbH & Co. KG was a hands-on introduction to the CAD/CAM workflow with SYMplus™: How do I build a geometry? Where…
KELLER.Software on YouTube
Check out CNC KELLER GmbH on YouTube! Simply search the name “CNC KELLER GmbH” or enter https://www.youtube.com/@CNCKELLERGmbH in your browser window.


Do you have any questions?
Our experts are at your disposal. We look forward to your inquiry!
This might also be of interest to you

This video demonstrates selected machining steps from Task 10 of the Christiani exercise collection “CNC Milling Technology according to PAL2020”. We illustrate these steps using the 3D simulation…
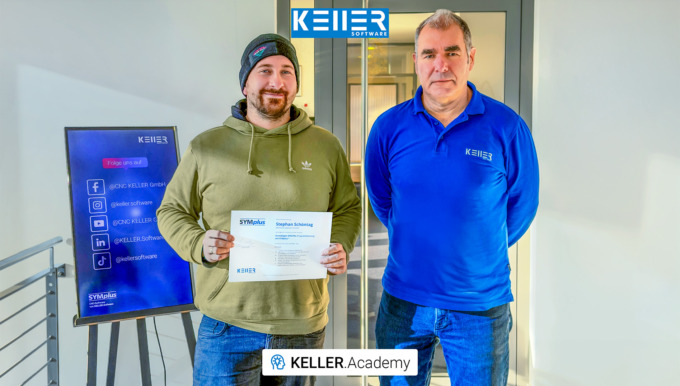
Even trainers sometimes need training themselves. Mr. Schöntag from Motion Makers GmbH has plenty of hands-on experience at the machine, but for his role in vocational training, he wanted to gain…
Simulation of the IHK, German Chamber of Commerce, final examination Milling in Summer 2021(conducted in Germany) for Cutting Machine Operators
In this simulation, the examination task of the IHK final examination part 2 for cutting machine operators summer 2021 Milling is shown.
Do you have any questions?
Our experts are at your disposal. We look forward to your inquiry!
This might also be of interest to you
In this video, we guide you step by step through Task 12 from the Christiani task collection "CNC Turning Technology according to PAL2020". Thanks to our 3D simulation in SYMplus™, everything is…
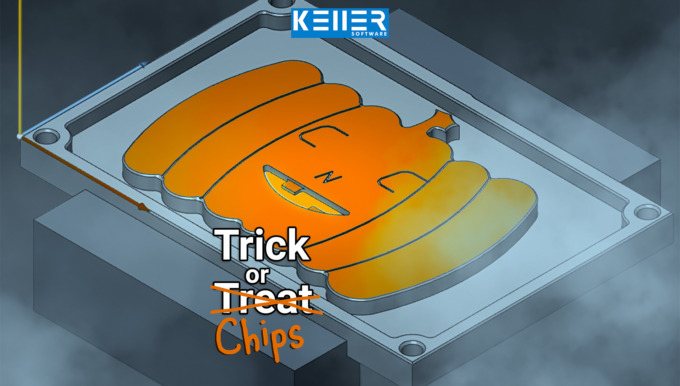
Carving pumpkins? 🎃 We’d rather mill ours out of metal. The KELLER.Software team wishes you a Happy Halloween!
Practical Tip: Machining of Grooves – In Video Format
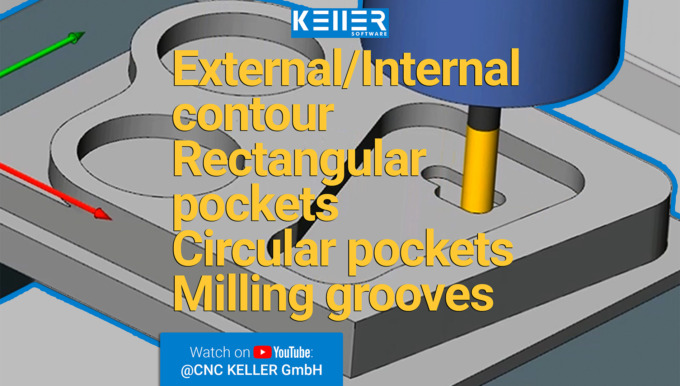
SYMplus™ offers you many possibilities to effectively implement your work. This also applies to the machining of “Grooves”.
Would you líke to learn how to machine grooves effectively? Watch this video to find out how.
For more tips, keep an eye out for our upcoming newsletters.
You have questions? Please feel free to contact our experts using the form below.
Do you have any questions?
Our experts are at your disposal. We look forward to your inquiry!
This might also be of interest to you
In this video, we guide you step by step through Task 12 from the Christiani task collection "CNC Milling Technology according to PAL2020". Thanks to our 3D simulation in SYMplus™, everything is…
In the CNC world, we speak many languages: Fanuc, Siemens, Heidenhain … But no matter which control system—today, on October 3rd, the Day of German Unity, we celebrate what unites us: our shared…
PRACTICAL TIP – Machining of Grooves
May 2021
SYMplus™ offers you many possibilities to effectively implement your work. This also applies to the machining of “Grooves”.
")
And this is how easy it is:
Open the “Geometry” mode in your SYMplus™ software. Here you first create the contour type “Groove” via F1 “Create” > F1 “User-defined”.

Initially, only the center path of the groove is described there, which in the simplest case is merely a straight line. The outer contour is determined by the groove width, which is entered together with the depth of the groove, right at the beginning of the creation process.

You can also create an open groove. In this case, however, you should make sure that the starting point of the groove is outside the workpiece, as this point is also automatically used as the starting point for the machining operation when machining with the “Groove” step.

Then switch to the “Work plan” mode of operation. There, also select the “Groove” step so that the tool also follows the center path here, as created in the geometry – regardless of whether the tool diameter is smaller than or equal to the groove width.

If you select a small tool, a correspondingly large amount of contour allowance remains.

If you have created a groove that is twice as wide as the tool diameter, you can switch the “Cutting method” to “Trochoidal” (whirl milling) on the third dialog page of the “Groove” step. Then – taking into account a contour allowance – the groove is rough-milled over its entire width. When doing this, also make sure to set the “contact width” to a sensible value (e.g. 20%).

However, if you enable an end mill (which usually does not cut across the center) for ” Groove/Engrave” machining, you can also machine an open groove with this tool. Then set the “Infeed type” to “Equal” and the “Infeed point” to “Start”.

In principle, you can also machine a groove using the “Surface” step. This also applies in particular if the outer contour rather than the center path was designed in the geometry or if only the outer contour of the groove could be transferred from a CAD file. The “Surface” step always works if the tool diameter is smaller than the groove width (if necessary, smaller than the groove width minus 2x contour allowance).
To machine a closed groove with an end mill (without center cut), you can also use the “Surface” step. In this case, however, you must switch the infeed to “Ramp” on the fourth dialog page, because the groove is too narrow for the usually preset helical plunge. Only after this change is the groove recognized as a possible surface to be machined and displayed in red.

After roughing (work step “Surface”), the edge of the groove can be finished normally like a pocket via the work step “Contour”. Since by default only the transition points between contour elements (i.e. here between the straight lines and the semicircles) can be selected as approach and departure points, the point has been set to the center of the straight line (here X75) via X value on the contour.

Now it is your turn. Try this out by yourself.
You will find more tips in the upcoming newsletters.
You have questions? Contact our experts using the contact form below.
Do you have any questions?
Our experts are at your disposal. We look forward to your inquiry!
This might also be of interest to you
In this video, we guide you step by step through Task 10 from the Christiani task collection "CNC Turning Technology according to PAL2020". Thanks to our 3D simulation in SYMplus™, everything is…
In our course “Basics of DIN/PAL Programming with SYMplus™”, participants spent 1.5 days writing and simulating programs, setting up tools, magazines and turrets, and creating their own gap-filling…
Simulation of the IHK Final Examination 2020 (conducted in Germany) for Cutting Machine Operators in Milling.
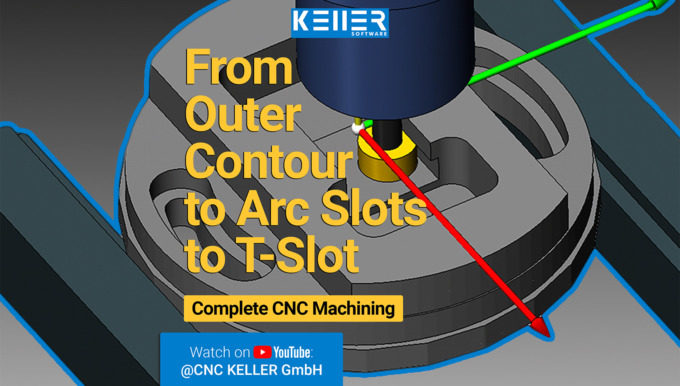
The requirements of this test were similar to those of the previous tests. It was swivelled around the B axis again, traverse paths of the contours and parameters for the groove had to be added. In addition, the infeed depth of the T-slot milling cutter and speed had to be calculated.
You are currently viewing a placeholder content from YouTube. To access the actual content, click the button below. Please note that doing so will share data with third-party providers.
Do you have any questions?
Our experts are at your disposal. We look forward to your inquiry!
This might also be of interest to you
In this video, we guide you step by step through Task 14 from the Christiani task collection "CNC Milling Technology according to PAL2020". Thanks to our 3D simulation in SYMplus™, everything is…
In this video, we guide you step by step through Task 9 from the Christiani task collection "CNC Turning Technology according to PAL2020". Thanks to our 3D simulation in SYMplus™, everything is explained…
You need to load content from reCAPTCHA to submit the form. Please note that doing so will share data with third-party providers.
More InformationYou are currently viewing a placeholder content from Turnstile. To access the actual content, click the button below. Please note that doing so will share data with third-party providers.
More InformationYou need to load content from reCAPTCHA to submit the form. Please note that doing so will share data with third-party providers.
More InformationYou are currently viewing a placeholder content from Facebook. To access the actual content, click the button below. Please note that doing so will share data with third-party providers.
More InformationYou are currently viewing a placeholder content from HubSpot. To access the actual content, click the button below. Please note that doing so will share data with third-party providers.
More InformationYou are currently viewing a placeholder content from Hubspot Meetings. To access the actual content, click the button below. Please note that doing so will share data with third-party providers.
More InformationYou are currently viewing a placeholder content from Instagram. To access the actual content, click the button below. Please note that doing so will share data with third-party providers.
More InformationYou are currently viewing a placeholder content from X. To access the actual content, click the button below. Please note that doing so will share data with third-party providers.
More Information