Newsletter February 2022
Learn new things faster and more effectively
It is no secret that learning is increasingly taking place on the Internet.
Videos are particularly popular. Videos increase the clarity of a topic through their visual presentation and, because our brains remember images better than texts, help us retain information in our heads for longer.
That’s why we at KELLER.Software have been running a YouTube channel for a few years now, covering topics such as:
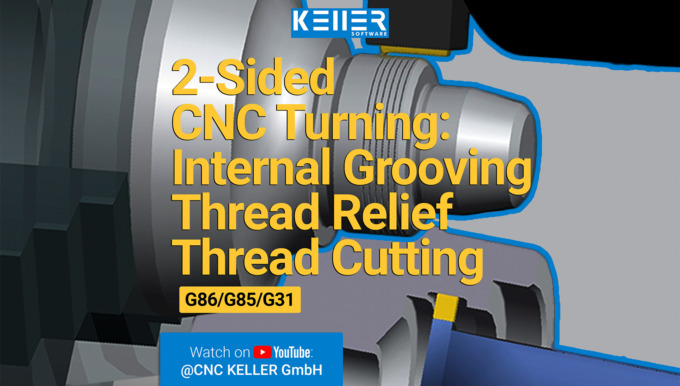
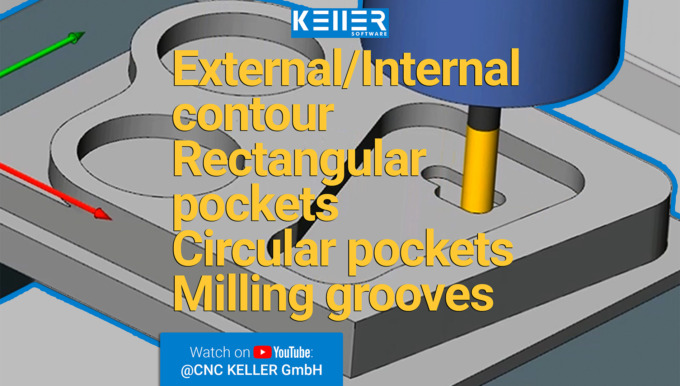
How does the machining of Grooves work?> https://www.youtube.com/watch?v=SqqflAwVSeE
How to setup vocabulary tests and multiple choice tasks using SYMplus™ software?> https://www.youtube.com/watch?v=D5FngKoU1Qo&t=4s
How to compare production strategies effortlessly with each other using SYMplus™ software?> https://www.youtube.com/watch?v=wSeaABYL7wg&t=3s
There is something for everyone. No matter whether you are just taking your first steps as an apprentice or would like to further your education as an experienced person.
Click here to go to the KELLER.Software YouTube channel > https://www.youtube.com/c/CNCKELLERGmbH
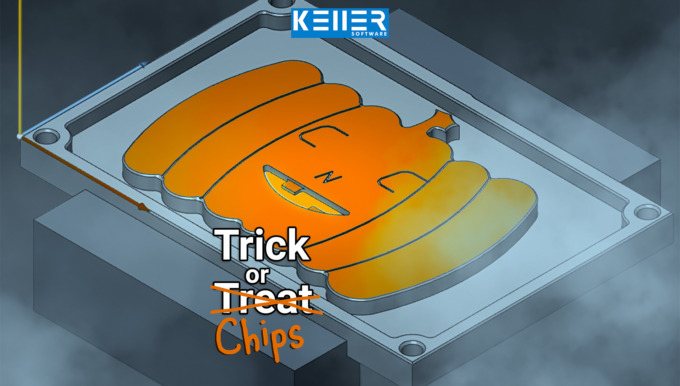
Practical Tip: From PAL Programming to chips
The phrase “From PAL programming to chips” refers to the fact that with SYMplus™ you can not only learn the theory, but you can also build a bridge to practical application.
To learn more about this Tip of the Month, please click on the picture.
Much more from KELLER.Software…
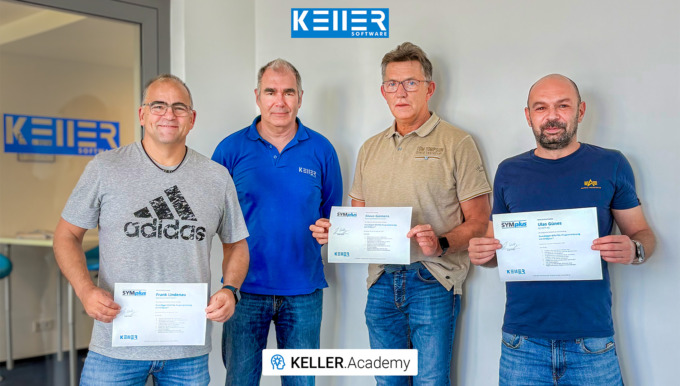
Upcoming Training Sessions:
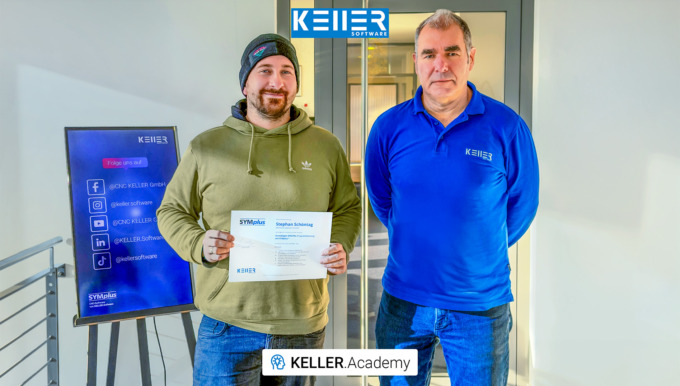
10.-11. Mar. 2022: Driven tools, plane swing and reform PAL2020
17.-18. Mar. 2022: Basics of graphic programming (CAD/CAM) with SYMplus™.
Further Information> https://cnc-keller.com/keller-academy/
To subscribe to our monthly newsletter, please use the form below. Thank you.
Do you have any questions?
Our experts are at your disposal. We look forward to your inquiry!

This might also be of interest to you
PRACTICAL TIP – From PAL Programming to chips
February 2022
The phrase “From PAL programming to chips” refers to the fact that with SYMplus™ you can not only learn the theory, but you can also build a bridge to practical application. Please note that whether you have a new machine with SIEMENS, HEIDENHAIN or HAAS or one from the 80s with a Dialog 4, EPL or CNC432 control, it always works the same way.
We will show you in the following practical tip how this works:
Step 1
Load the program you want to put on the machine into the PAL simulator and test it diligently using the simulation.
Step 2
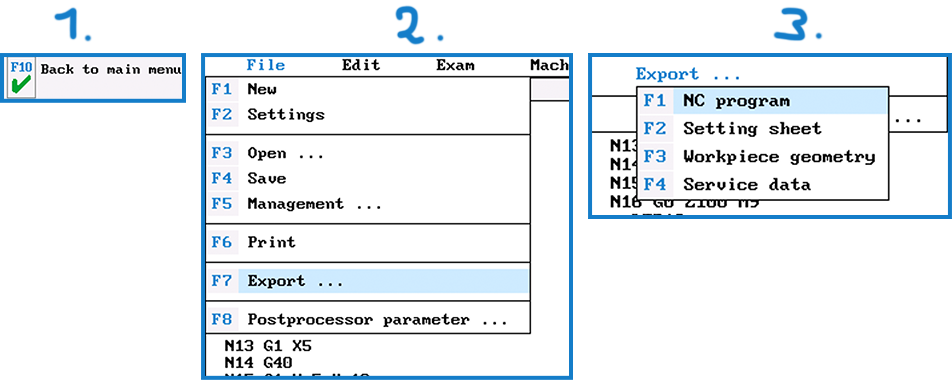
Now carry out the following steps 1, 2 and 3:
Step 3
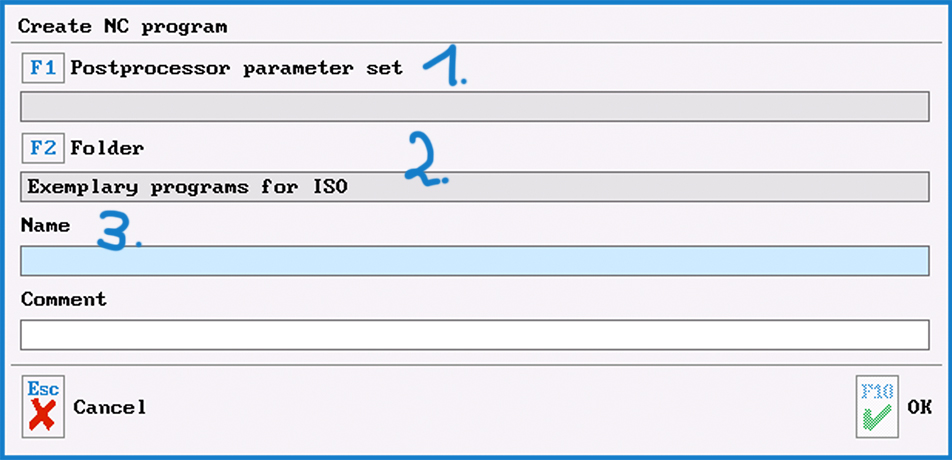
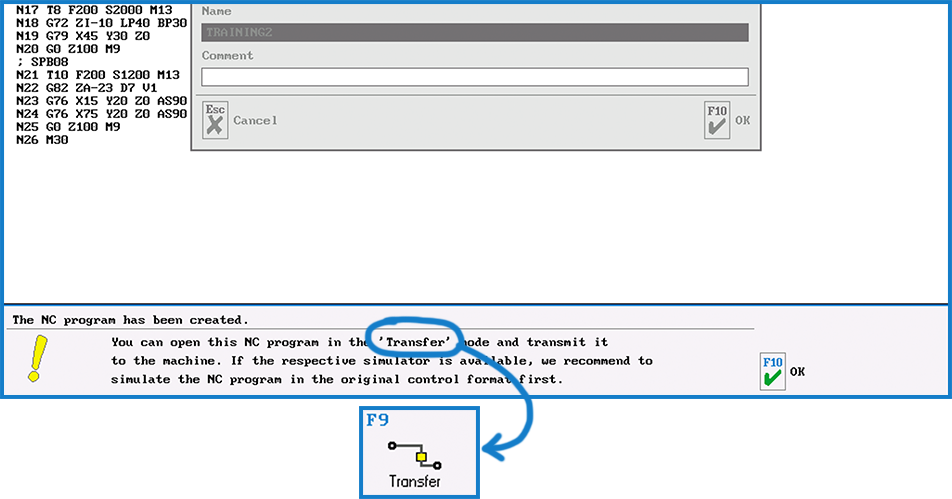
Generate NC program:
3.1.
Search for the parameter file of the desired control via F1 “Control parameters” and confirm the selection with F10.
3.2.
Use F2 “Folder” to select the location where you want to save the program ( for example, this could be on a hard disk or a USB stick)
3.3.
Please be aware that older controllers in particular only allow numbers and no letters in the “Name” field. Also, please refrain from using special characters and spaces.
Step 4
The program must now be transferred to the machine. This can be done either via network, USB connection or “serially” using the “Transfer” mode of SYMplus™.
Step 5
Test the generated program again using the simulation graphic on the control. If any changes are necessary, feel free to contact us.
Step 6
When everything is running smoothly: Why not record your success with a photo or video and send it to us? We are always happy to receive such responses. We look forward to seeing your PAL programming practice workpieces on the machine!
Was this tip helpful? Let us know.
You will find more tips in the upcoming newsletters.
You have questions? Contact our experts using the contact form below.
Do you have any questions?
Our experts are at your disposal. We look forward to your inquiry!

This might also be of interest to you
Practical Tip: 3 steps to rotary-symmetric contour – In Video format
A pocket or an island contour is usually constructed from the starting point of the contour once around to the end point. In the case of a rotary-symmetrical contour, this would usually be unnecessarily time-consuming and, in part, hardly feasible anyway due to the dimensions. When programming in SYMplus™, you can achieve the complete contour in just three steps. Watch the video to find out how.
Please follow our Youtube channel to watch the latest videos:
https://www.youtube.com/channel/UCyBovavGxzuJmrm1OXZuErw
For more tips, keep an eye out for our upcoming newsletters.
You have questions? Please feel free to contact our experts using the form below.
Do you have any questions?
Our experts are at your disposal. We look forward to your inquiry!

This might also be of interest to you
Practical Tip: Vocabulary tests? Multiple choice tasks? This is how it works with SYMplus™ – In Video format
If you teach DIN/PAL programming using our SYMplus™ software, you are probably familiar with the “Teacher” mode of operation, which allows you to perform gap-filling tasks in the style of the written IHK(Chamber of Industry and Commerce, Germany) final examinations. What you may not know, however, is that this operating mode gives you many more options than simply using an NC program as a basis.
To learn how to set up vocabulary tests and multiple choice tasks on SYMplus™, watch this video.
To watch more videos like this, please follow our Youtube channel:
https://www.youtube.com/watch?v=D5FngKoU1Qo&t=42s
For more tips, keep an eye out for our upcoming newsletters.
You have questions? Please feel free to contact our experts using the form below.
Do you have any questions?
Our experts are at your disposal. We look forward to your inquiry!

This might also be of interest to you
PRACTICAL TIP – 3 steps to rotary-symmetric contour
July 2021
A pocket or an island contour is usually constructed from the starting point of the contour once around to the end point. In the case of a rotary-symmetrical contour, this would usually be unnecessarily time-consuming and, in part, hardly feasible anyway due to the dimensions.
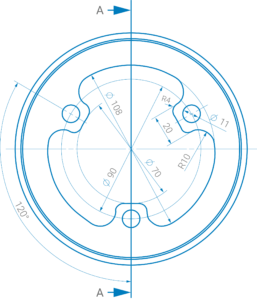
When programming in SYMplus™, you can achieve the complete contour in just three steps. We will demonstrate it using this drawing:
Step 1:
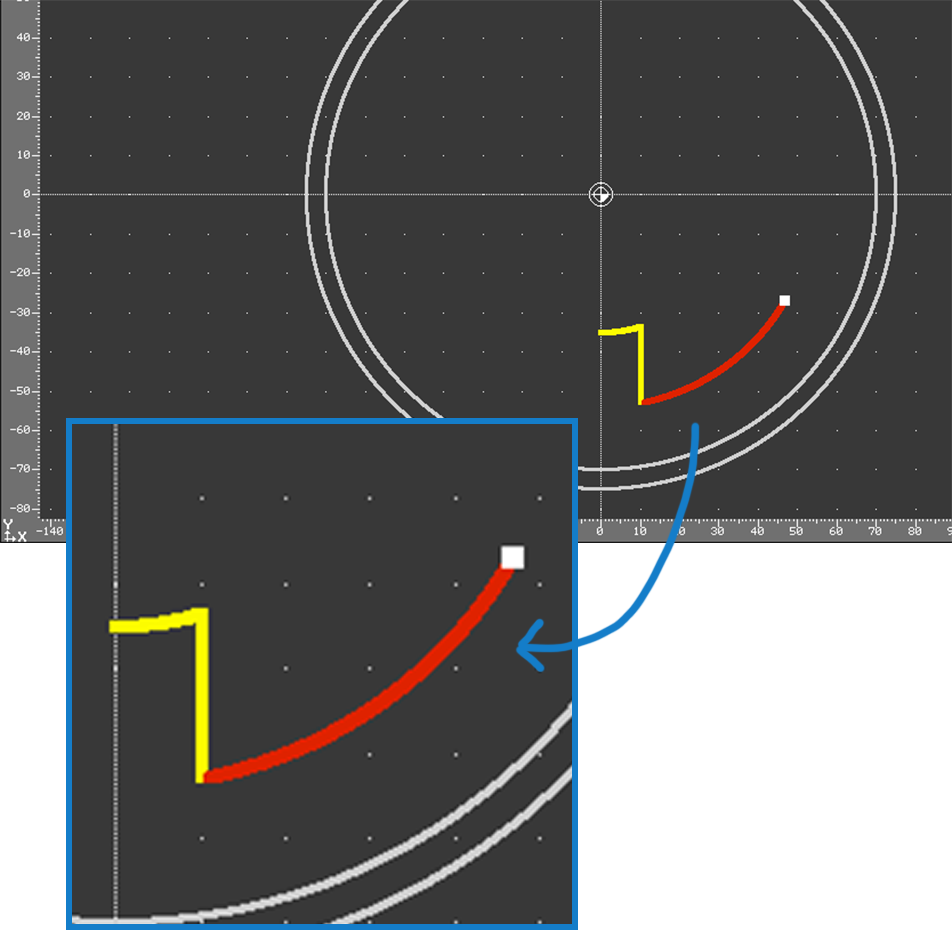
It is sufficient here to actually construct 1/6 of the contour. We start here on one axis (here it is the negative Y-axis). Since we want to construct 1/6 of 360°, the last element, the circular arc Ø108 must have a run-out angle (to the positive X axis) of 60°.
Step 2:
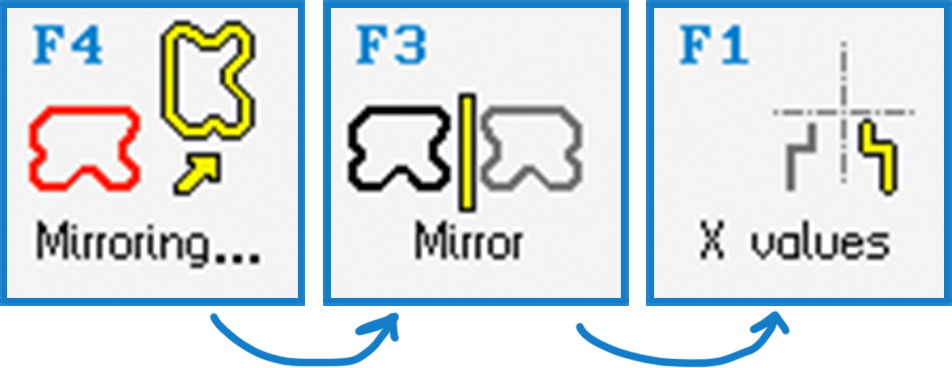
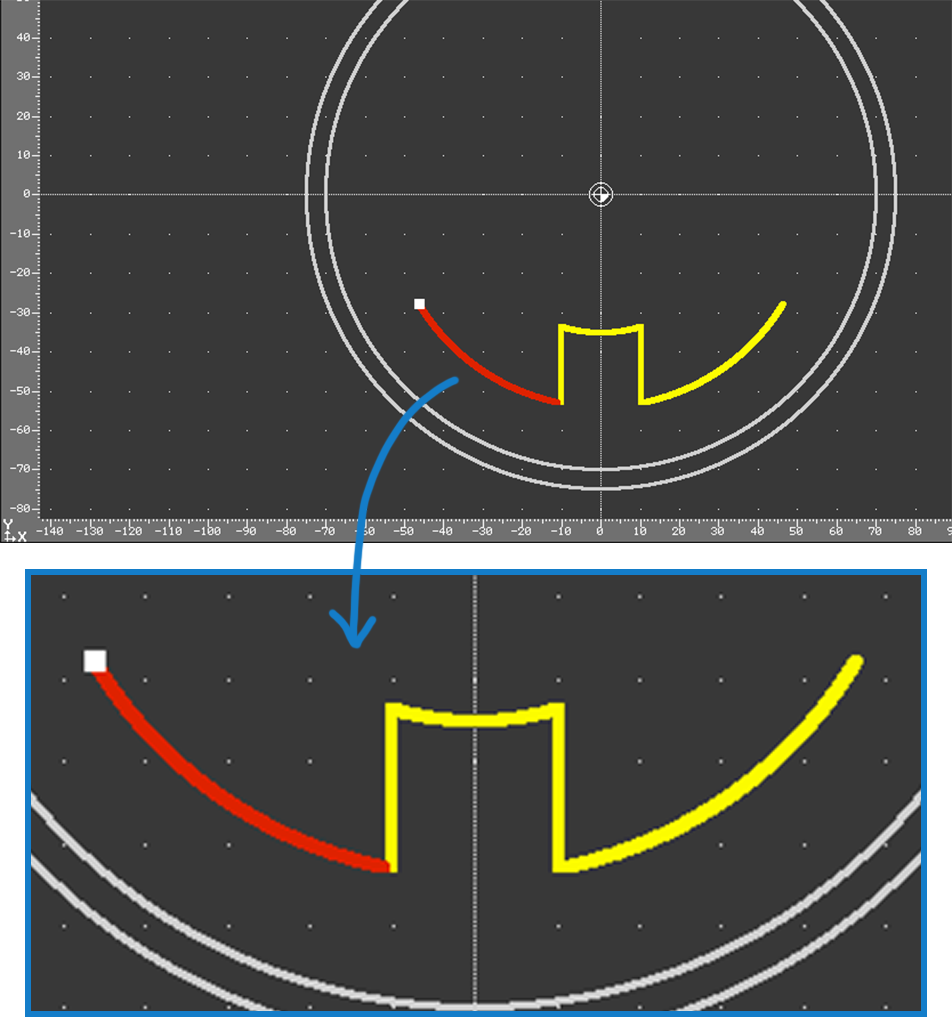
Now we leave the stretch/arc editor and mirror this piece to the Y axis (or the “X values”). It is important that you select “Mirror and connect”, because otherwise we would have single, “loose” contours.
If you make a mistake when flipping, flip in the wrong direction or forget to connect: With Ctrl+Z you can undo this operation and do it right again.
Step 3:
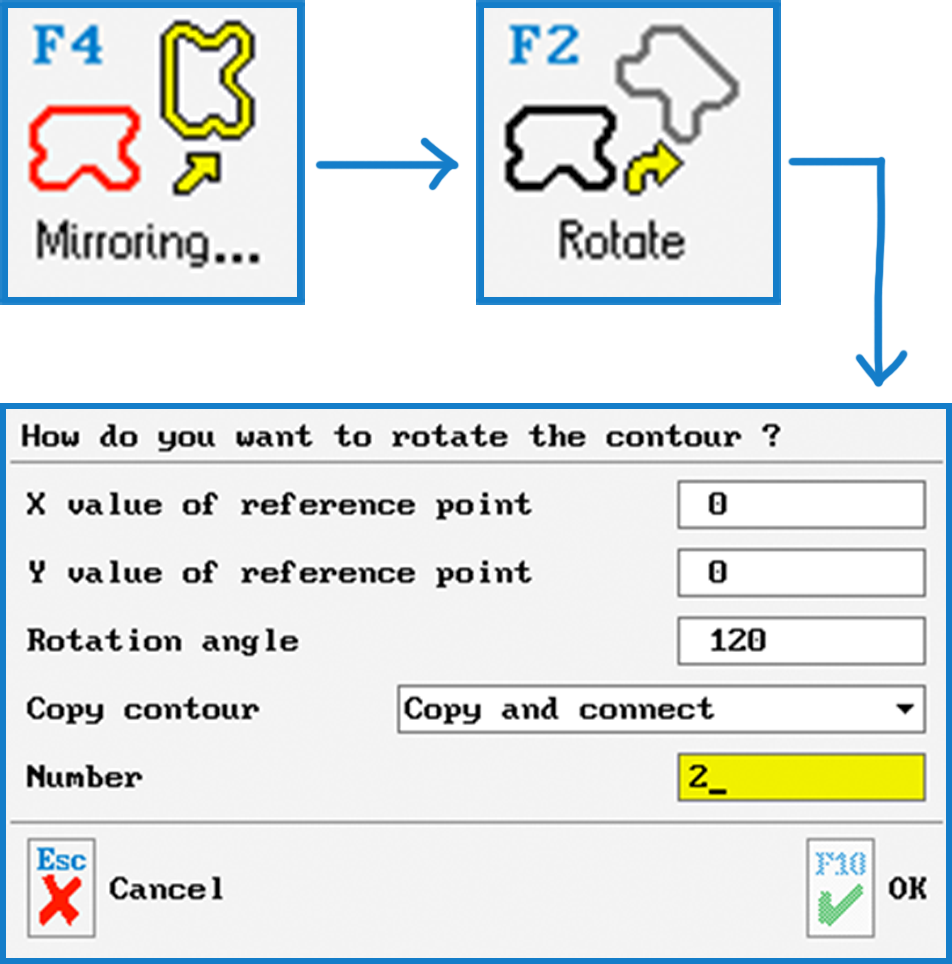
With this we now have 1/3 of the entire contour and can copy and rotate this section 2x by 120°. Again we select “Copy and Join” and as “Number” the number of copies, namely 2.
Now we have a closed contour, which we can also check again visually in the 3D view:
Now it’s your turn.
You will find more tips in the upcoming newsletters.
You have questions? Contact our experts using the contact form below.
Do you have any questions?
Our experts are at your disposal. We look forward to your inquiry!


