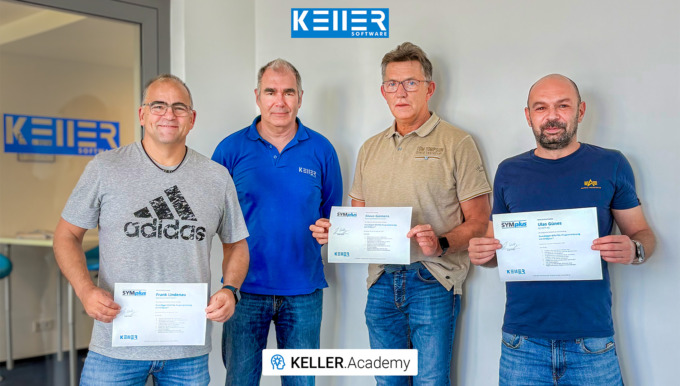
KELLER.Academy visited the David-Roentgen-Schule in Neuwied
Last week, Mr. Reckermann, our KELLER.Academy trainer, visited the David-Roentgen-Schule in Neuwied. He conducted a training session on DIN/PAL (turning and milling) as well as on the topic of driven tools and plane swiveling.
In addition to the dedicated teachers from DRS, an instructor from the firm Wirtgen in Windhagen also participated in this course. On the first day, a teacher and the principal of BBS Heinrich-Haus Neuwied were also part of the group. A big thanks to all the participants for two fantastic training days!
Click on the following link to learn more about the courses offered at the KELLER.Academy: https://cnc-keller.com/keller-academy/

Do you have any questions?
Our experts are at your disposal. We look forward to your inquiry!
This might also be of interest to you
Last week at the KELLER.Academy, participants once again spent their time programming, simulating, and discussing intensively—from the fundamentals of DIN/PAL programming to the practical…
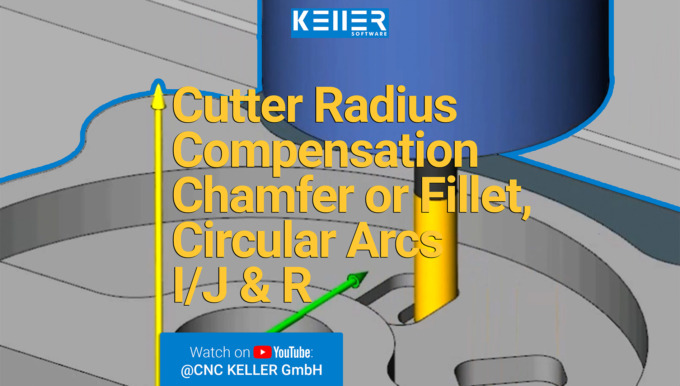
This video demonstrates selected machining steps from Task 13 of the Christiani exercise collection “CNC Milling Technology according to PAL2020”. We illustrate these steps using the 3D simulation…
Throwback 1990 – Band’s music between cnc machines
On October 12, 1990, the KELLER “Technology Centre” was inaugurated. The centerpiece of the show, back then, was the workshop, equipped with 6 CNC machines and 6 different CNC controllers. The evening’s highlight was the band’s incredible music between the machines.

Do you have any questions?
Our experts are at your disposal. We look forward to your inquiry!
This might also be of interest to you

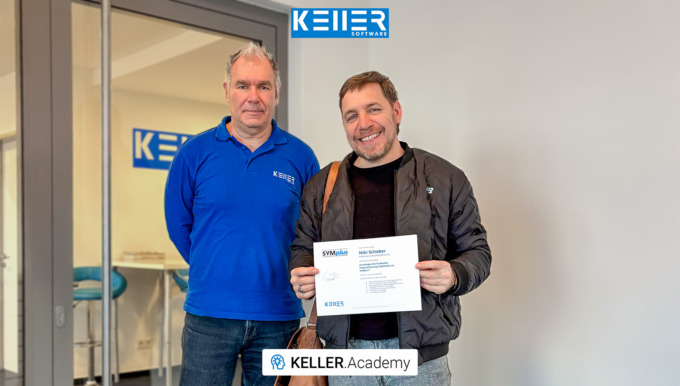
After Mr. Schober had already attended our CAD/CAM course, we were pleased to now welcome Mr. Zaeske from Waldemar Link GmbH & Co. KG. Thank you for your visit, Mr. Zaeske. We wish you every…
After a two-week break (and a successfully completed CAD/CAM course) Mr. Schober from Waldemar Link GmbH & Co. KG returned to the KELLER.Academy for the course “Basic DIN/PAL programming…
INSTANT CNC – new video format on YouTube
What’s new, you ask? The answer is “INSTANT CNC” – your little bite of “CNC” ready to enjoy in no time! This is our brand new Video format, mainly meant for our YouTube Channel.
As a German company, naturally our first video is also in German language. Do not worry though, we are working on the English one already and it will soon come your way. The first video in this series is a task from the Christiani booklet “Task collection CNC technology milling according to PAL2020”. With the help of an illustrative simulation from our SYMplus™ CNC software, we explain what this task is about. Further exercises from this booklet will follow.
Here is a link to the video:
https://www.youtube.com/watch?v=F61d7DvBfY4


Do you have any questions?
Our experts are at your disposal. We look forward to your inquiry!
This might also be of interest to you
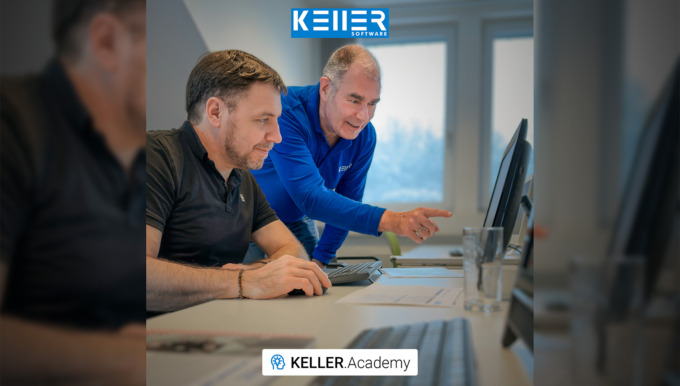
In our first course of 2026, the focus for Mr Schober from Waldemar Link GmbH & Co. KG was a hands-on introduction to the CAD/CAM workflow with SYMplus™: How do I build a geometry? Where…

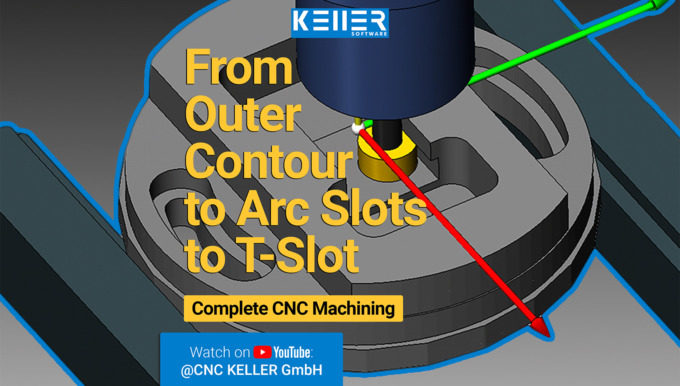
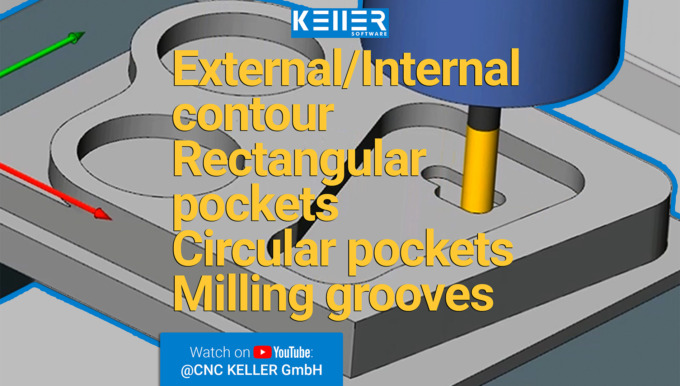
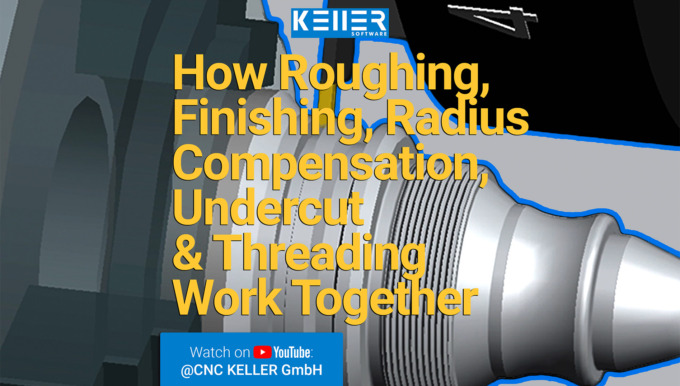
This video demonstrates selected machining steps from Task 10 of the Christiani exercise collection “CNC Milling Technology according to PAL2020”. We illustrate these steps using the 3D simulation…
KELLER.Academy – Basics of DIN/PAL Programming with SYMplus™
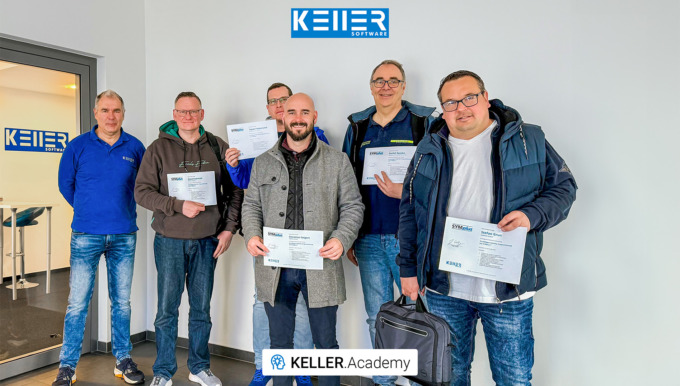
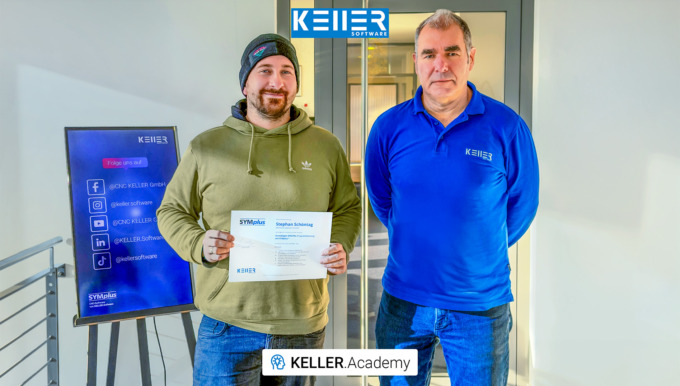
Last week’s KELLER.Academy course was on the topic “Basics of DIN/PAL Programming with SYMplus™” We congratulate the participants from BBS Cuxhaven and Aptiv for the successful completion of the course and we thank you for visiting us.
Click on the following link to learn more about the courses offered at the KELLER.Academy: https://cnc-keller.com/keller-academy/


Do you have any questions?
Our experts are at your disposal. We look forward to your inquiry!
This might also be of interest to you
Even trainers sometimes need training themselves. Mr. Schöntag from Motion Makers GmbH has plenty of hands-on experience at the machine, but for his role in vocational training, he wanted to gain…
In this video, we guide you step by step through Task 12 from the Christiani task collection "CNC Turning Technology according to PAL2020". Thanks to our 3D simulation in SYMplus™, everything is…
Throwback 2001 – SYMbiosis of learning and manufacturing
On this #ThrowbackThursday, let’s travel back in time to 2001, when our software underwent a groundbreaking transformation! After the turn of the century, our former softwares “Qplus” (for training) and “CAMplus” (for production) transformed into our enduring CNC software “SYMplus” – the perfect SYMbiosis of learning and manufacturing.


Do you have any questions?
Our experts are at your disposal. We look forward to your inquiry!
This might also be of interest to you
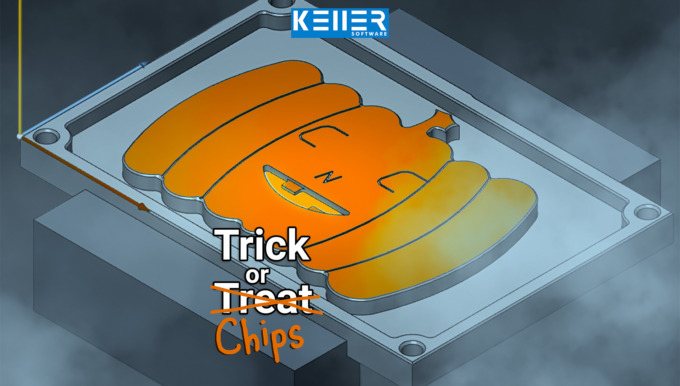
Carving pumpkins? 🎃 We’d rather mill ours out of metal. The KELLER.Software team wishes you a Happy Halloween!
In this video, we guide you step by step through Task 12 from the Christiani task collection "CNC Milling Technology according to PAL2020". Thanks to our 3D simulation in SYMplus™, everything is…
Throwback 1985 – KELLER in newspaper
On this #ThrowbackThursday, let’s travel back to 1985. KELLER.Software developed the EPL1 Simulator on the Apple 𝘐𝘐e – fun fact: at that time, only 64 kB RAM was available! The EPL1 keyboard was meticulously handcrafted and was a special attachment for the Apple 𝘐𝘐e, providing an almost identical control experience to the original. Pretty cool, isn’t it?

Do you have any questions?
Our experts are at your disposal. We look forward to your inquiry!
This might also be of interest to you
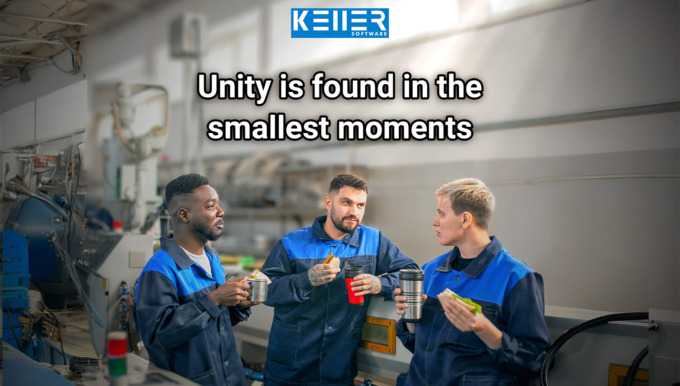
In the CNC world, we speak many languages: Fanuc, Siemens, Heidenhain … But no matter which control system—today, on October 3rd, the Day of German Unity, we celebrate what unites us: our shared…
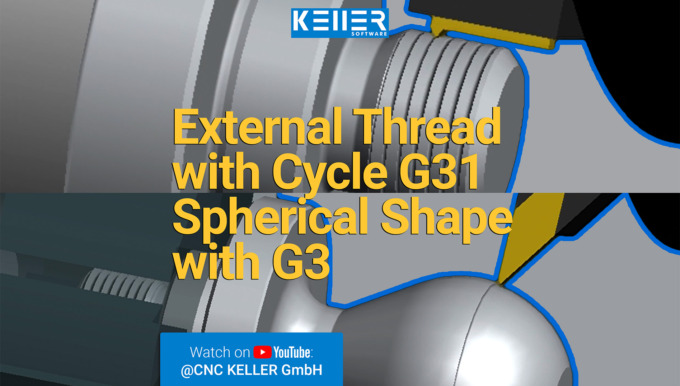
In this video, we guide you step by step through Task 10 from the Christiani task collection "CNC Turning Technology according to PAL2020". Thanks to our 3D simulation in SYMplus™, everything is…
Practical tips as videos on YouTube
Have you seen our practical tips videos on YouTube?
Click here https://www.youtube.com/@CNCKELLERGmbH or search for “CNC KELLER GmbH” on YouTube to find us.


Do you have any questions?
Our experts are at your disposal. We look forward to your inquiry!
This might also be of interest to you
In our course “Basics of DIN/PAL Programming with SYMplus™”, participants spent 1.5 days writing and simulating programs, setting up tools, magazines and turrets, and creating their own gap-filling…
In this video, we guide you step by step through Task 14 from the Christiani task collection "CNC Milling Technology according to PAL2020". Thanks to our 3D simulation in SYMplus™, everything is…
Training at the KELLER.Academy – Basics of graphical programming (CAD/CAM) with SYMplus™
Summer vibes: Training mode activated!
Last week, we had our “Fundamentals of Graphic Programming (CAD/CAM) with SYMplus™” course and welcomed two great companies to it: Hirschvogel Eisenach GmbH and APTIV Services Deutschland GmbH. It was a pleasure to host you. We look forward to your next visit.
Click on the following link to learn more about the courses offered at the KELLER.Academy: https://cnc-keller.com/keller-academy/


Do you have any questions?
Our experts are at your disposal. We look forward to your inquiry!
This might also be of interest to you
In this video, we guide you step by step through Task 9 from the Christiani task collection "CNC Turning Technology according to PAL2020". Thanks to our 3D simulation in SYMplus™, everything is explained…

Work experience instead of making coffee! At KELLER, interns are given real responsibilities from day one. That was also the case for Mr. Born, who – during his two-week internship in application…
KELLER logo then and now
On this #ThrowbackThursday, we’re diving into the legendary KELLER logo. We’ve stayed true to ourselves over the years, and the “KELLER Blue” still adorns our logo.
Which version of the KELLER logo did you first come across? Most of you are probably familiar with the 2001 version, right?


Do you have any questions?
Our experts are at your disposal. We look forward to your inquiry!
This might also be of interest to you
In our 1.5-day KELLER.Academy course, Mr. Ambrosy from Mager GmbH (a manufacturer of screws and turned parts) successfully completed the introduction to graphical programming with SYMplus™. The…
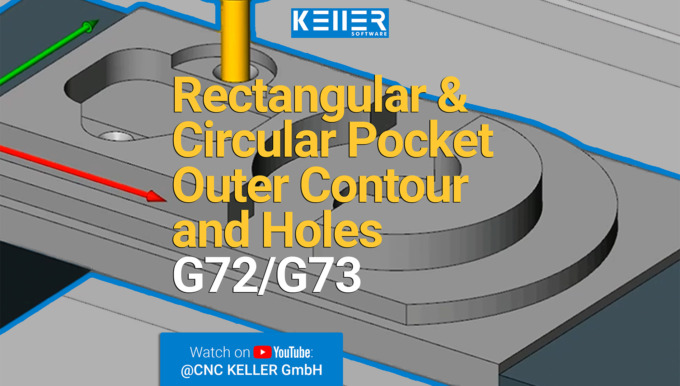
In this video, we guide you step by step through Task 9 from the Christiani task collection "CNC Milling Technology according to PAL2020". Thanks to our 3D simulation in SYMplus™, everything is explained…
Your feedback matters: Have a say in the next webinar topics.
We’re excited to announce that following the tremendous success of our “PAL2020” webinar, we’re now seeking your input to make our future webinars even better!
If you can understand German and would like to contribute, we invite you to take part in our short survey. Your feedback will play a crucial role in shaping the topics we cover. The survey is Anonymous.
- Access the survey by clicking here: https://www.surveymonkey.de/r/M8BTTS9
Thank you for your understanding and support in shaping the direction of our upcoming webinars!

Do you have any questions?
Our experts are at your disposal. We look forward to your inquiry!
This might also be of interest to you
In this video, we guide you step by step through Task 11 from the Christiani task collection "CNC Turning Technology according to PAL2020". Thanks to our 3D simulation in SYMplus™, everything is…
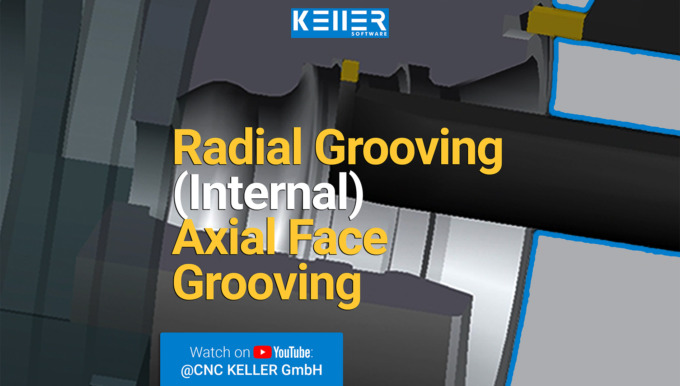
In this video, we guide you step by step through Task 8 from the Christiani task collection "CNC Turning Technology according to PAL2020". Thanks to our 3D simulation in SYMplus™, everything is explained…